Last reviewed: August 3, 2026 · By the RaceYear team
Short answer: Crack checking race car parts at home means running a dye penetrant or magnetic particle test on the bench instead of trusting a look and a flashlight. A $20-to-$90 kit finds a crack in a spindle, hub, birdcage, radius rod, or cage tab in roughly 30 to 45 minutes per part — while it’s still a parts-counter problem, not a turn-three problem.
Key takeaways
Safety and service note: Use the current rulebook and the exact component, chassis, engine, fastener, hub, lubricant and safety-equipment manufacturer instructions. Generic intervals, torque values and inspection results cannot establish continued eligibility, remaining life, correct preload or fitness for service. Replace or escalate any safety-critical part after an impact, heat event, deformation, contamination or abnormal measurement, whatever the calendar says.
Every weekly checklist tells you to “inspect for cracks.” None of them tell you how, because looking isn’t inspecting. A crack that’s about to let go can hide under a coat of paint, inside a weld toe, or behind a bearing bore, and your eyeball will pass it every single time. Crack checking race car parts is a bench skill you can pick up in an afternoon, and once you’ve got it, “inspect for cracks” stops being a line you check off and starts being something you actually do.
Crack checking is running a chemical or magnetic test that makes a surface-breaking crack visible, instead of relying on your eyes to catch it. It’s a different job than a visual walkaround — a walkaround catches a bent link or a fresh gouge. Crack checking catches the failure that hasn’t happened yet.
The reason it matters comes down to how metal actually fails under repeated load. Quadco Engineering explains that a fatigue crack starts at a stress concentration — “a fillet radius, a keyway, a hole, a surface scratch, a machining mark or a weld toe” — and grows a little more with every load cycle, well below the metal’s actual tensile strength, until there isn’t enough good material left to hold the peak load and the part lets go all at once. That’s the part that should worry you: the crack is there for weeks or months before the failure is. It just isn’t there for your eyes.
Welded joints carry extra risk for the same reason. Quadco notes that “the stress concentration from the weld geometry combines with tensile residual stresses” left behind by the welding process itself — which is exactly why so many of the parts on this list crack at a weld and not out in the open middle of a tube.
A weekly checklist tells you to check “suspension” and “chassis.” That’s not specific enough to find anything. Here’s where the load actually concentrates on a short-track car, part by part.
| Part | Where it cracks first | Why |
|---|---|---|
| Spindle | The step down to the bearing journal, and the steering arm mounting boss | A machined step and a bolted/drilled hole are both stress risers |
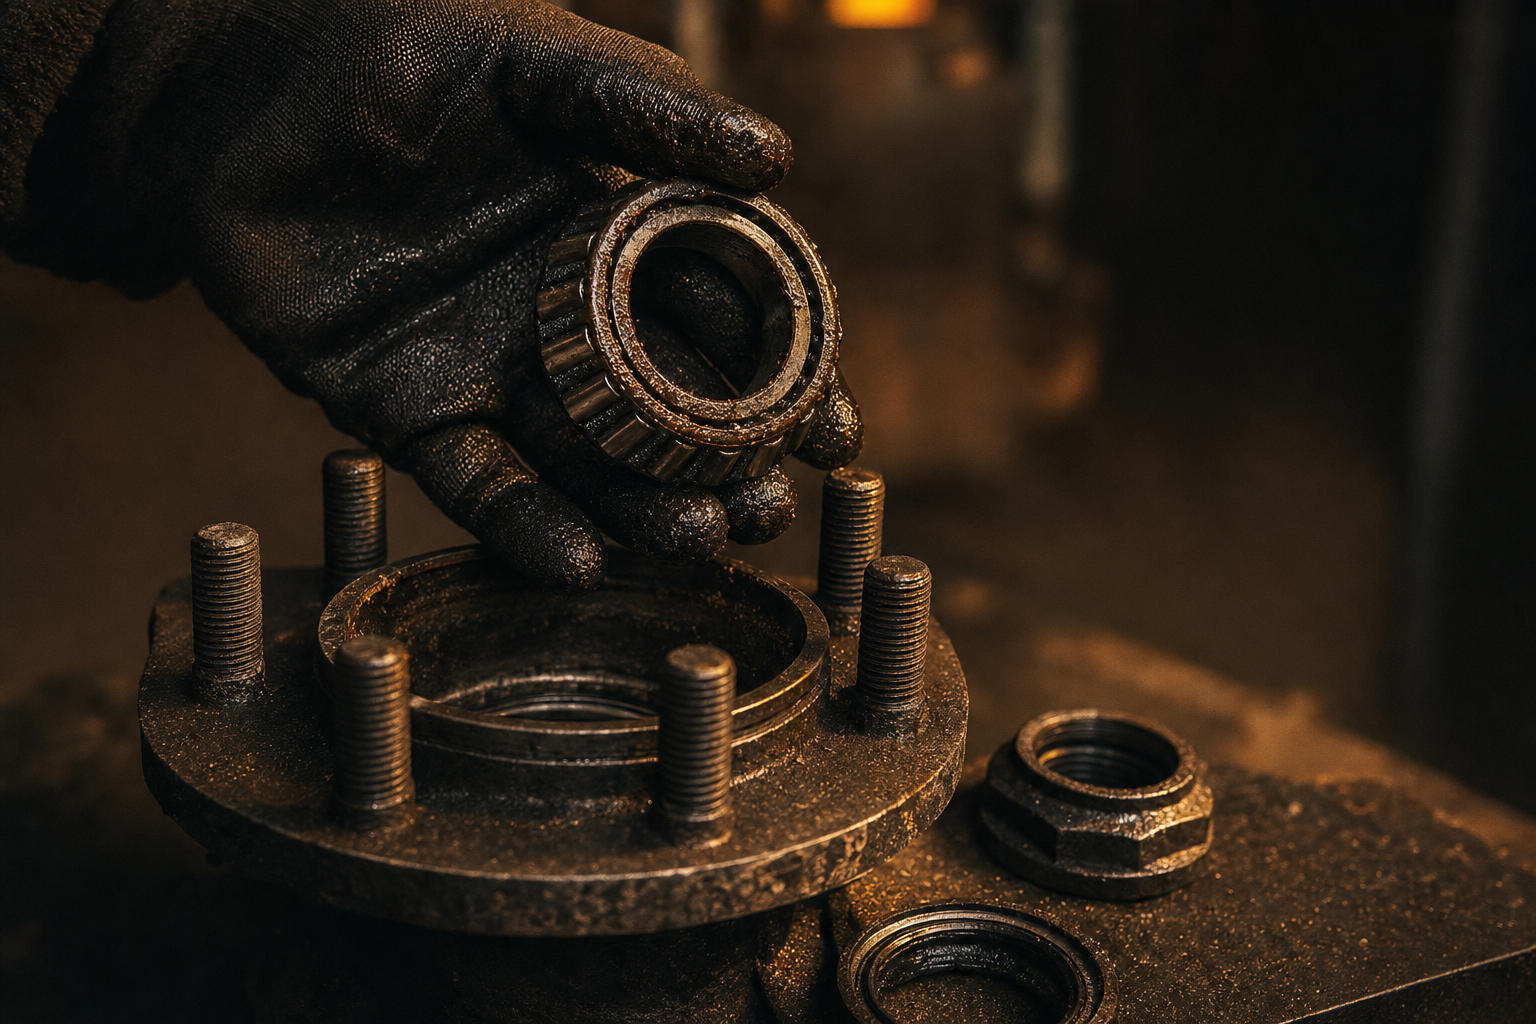
| Wide-5 hub | The wheel-stud holes in the flange, and the flange-to-barrel transition | Drilled holes and a section change concentrate cyclic load |
| Birdcage | The ear-to-body weld and the bearing bore register | Weld-toe residual stress stacked on a machined step |
| Radius rod / trailing arm end | Where the rod-end bung or heim housing welds to the tube | The same weld-toe failure a race-deZert racer found on his arms — “right where you can’t see when you mag them” |
| Shock and Panhard bar tabs | The tab-to-chassis weld | Weld toe, plus thousands of shock-load cycles a night |
| Cage tabs and gussets | The tab edge and the gusset-to-tube weld | Same weld-toe mechanism as the tabs above |
| Wheel centers (aluminum) | Around bead-lock bolt holes and the center-to-barrel joint | Drilled holes plus a fastened or riveted joint |
| Axles | The flange fillet and the spline root | Both are classic machined stress risers in a rotating part |
| Steering arms | Where the arm meets the spindle boss, and any wear point from steering stops | A machining transition, plus metal-to-metal contact wear — the same mechanism Street Muscle Magazine found on a control arm that cracked half an inch from the ball joint where the steering-arm stop rubbed it |
Notice the pattern. Almost nothing on this list cracks in the middle of a plain, unwelded, unmachined section of tube. It cracks at a weld, a hole, a fillet, or a wear point — because that’s where the stress concentrates. Check those spots first, every time, and you’ll find most of what’s actually wrong with the car.
The two DIY methods split cleanly along one line: what the part is made of.
NDT Group lays out the divide plainly. Liquid (dye) penetrant testing works on “metals, plastics and ceramics” regardless of whether they’re magnetic. Magnetic particle testing “cannot be used on non-ferromagnetic materials” — full stop. That rules it out for aluminum spindles, aluminum hubs, and aluminum wheel centers, all common on a short-track car.
| Part material | Test method | Why |
|---|---|---|
| Aluminum spindle, hub, wheel center | Dye penetrant only | Aluminum isn’t magnetic, so magnetic particle testing can’t touch it |
| Steel radius rods, birdcages, cage tabs, axles | Either — dye penetrant or magnetic particle | Steel is ferromagnetic, so both methods work |
| Any part with heavy paint, grease, or rough casting texture | Dye penetrant, after thorough cleaning | Both methods need a clean surface, but rough or porous surfaces are worse for penetrant |
Where both methods work, magnetic particle has two real advantages: NDT Group notes it needs less rigorous surface prep, and it can catch a flaw up to 2 millimeters below the surface, versus surface-breaking-only for dye penetrant. That’s why a machine shop mags a crank or a set of heads instead of dye-testing them. For most home garages, though, dye penetrant is the practical answer — it’s cheaper, it works on every material in your shop, and it needs no magnetizing gear at all.
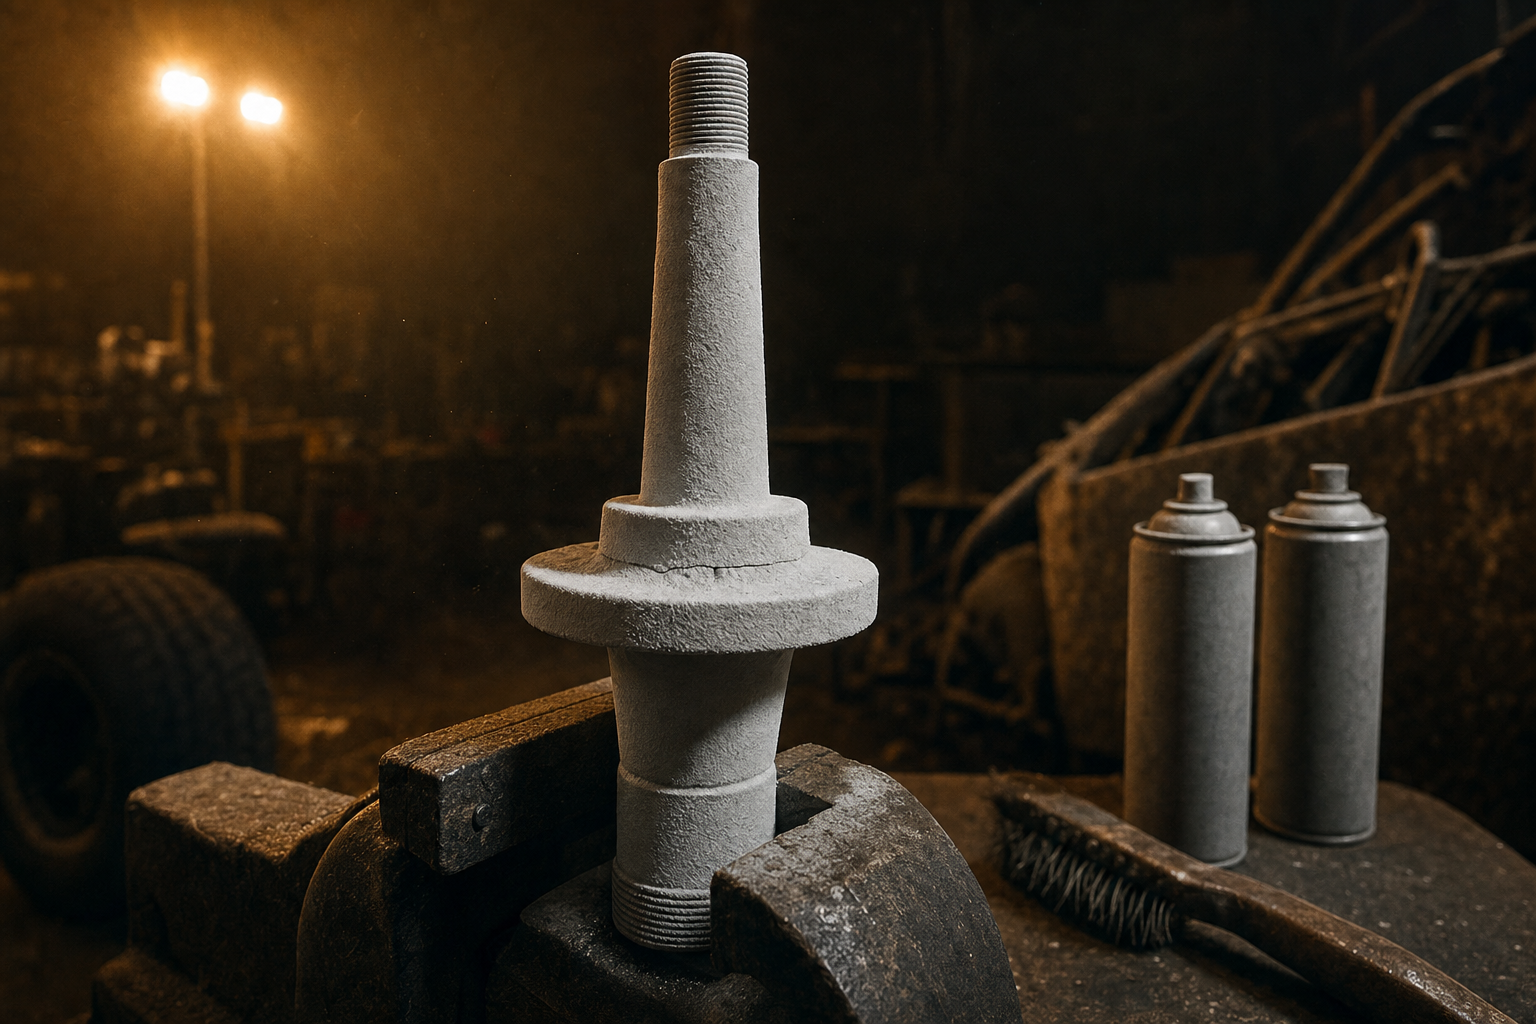
This is the exact sequence Grassroots Motorsports and Magnaflux’s own SK-816 kit instructions walk through. It’s built around the same three products in every kit — cleaner, red penetrant dye, white developer.
That’s the entire test. No black light needed for the visible-dye version, which is why it’s the version most garages should own — it works under a shop light, at the track, or on the tailgate.
For steel-only parts — birdcages, radius rods, cage tubing, axles — a handheld magnetic particle yoke is the professional-grade upgrade over dye penetrant. It magnetizes the part, and iron particles you dust or spray on collect at any crack, where the magnetic field leaks out of the surface. It’s what Supercars.net calls “the most popular method for inspecting ferrous parts,” and race-deZert forum members note that most automotive machine shops already run it “routinely on heads, cranks, etc.” (race-deZert).
For non-ferrous parts like aluminum, Supercars.net notes the equivalent process is called Zyglo, which swaps the iron particles for a fluorescent dye — read under black light. It’s usually run as a professional-shop service, and while aerosol fluorescent kits exist (Pegasus lists one), visible dye penetrant is still the practical DIY route for your own aluminum spindle or hub.
A yoke kit is a bigger investment than a set of aerosol cans, and most home garages don’t need to own one — a machine shop that already mags cranks and heads for a living can usually run your birdcage or radius rod through the same process for a modest fee. Save the yoke for a shop that’s crack-checking parts every week; save the aerosol cans for your own bench.
Pricing runs a real range depending on how you buy it. One race-deZert poster put a full DIY kit — cleaner, dye, and developer — at “around $20 for all of it” from a welding shop (race-deZert); that’s an older thread, so budget a bit more today. A boxed, branded kit from a racing supplier costs more: Pegasus Auto Racing lists a complete visible dye penetrant kit at $85.59, with the individual cleaner, dye, and developer sold separately for roughly $27 to $31 each if you need to restock just one can.
Either way, you’re buying three aerosol cans that check every part on your car, over and over, for a season or more. That’s the whole pitch for doing this yourself instead of driving parts to a shop every time you’re unsure — the kit pays for itself the first time it catches something.
There’s no universal interval published for grassroots race parts specifically, so treat this as a starting schedule and adjust it to how hard you actually run.
| When | What to crack check |
|---|---|
| After any hard hit, spin, or big bottom-out | Everything at that corner — spindle, hub, birdcage, radius rod, cage tabs nearby |
| Off-season teardown | The full list, top to bottom, while the car’s already in pieces |
| Before a part goes back in the car after a rebuild | Anything you welded, machined, or repaired |
| Periodically on high-cycle parts | Radius rod ends, shock and Panhard tabs, cage gussets — the weld-toe parts that see the most load cycles |
Supercars.net recommends visual plus Magnaflux or Zyglo inspection every 500 to 1,000 miles of running for critical components, depending on the nature of the part. That’s a road-mileage number from outside grassroots racing, not a lap count for your class — use it as a floor, not a rule, and lean harder on your own crash and off-season schedule.
A crack check tells you whether a part is cracked right now. It doesn’t tell you whether the part is worth saving once it is.
Weld-repairing a cracked tab or gusset is a normal fix, and most racers do it without a second thought. A cracked spindle, axle, or hub is a different conversation — those parts carry the load that keeps the wheel attached to the car, and a crack there means the metal has already used up fatigue life it can’t get back, even after a weld. ARP’s explanation of fatigue failure in fasteners applies just as well here: a fatigue fracture carries telltale “beach mark” patterns tracking the crack’s growth because it was advancing under load long before the final break. If a load-bearing, safety-critical part shows a crack, replace it. Don’t re-weld the thing that’s supposed to keep the wheel on the car.
Yes — that’s exactly the case where dye penetrant is the right tool. NDT Group confirms magnetic particle testing “cannot be used on non-ferromagnetic materials” like aluminum, while dye penetrant works on any solid, non-porous surface regardless of magnetism. For an aluminum spindle, hub, or wheel center, dye penetrant is your only DIY option.
Budget roughly 30 to 45 minutes once the part is already clean and dry — mostly dwell time. Magnaflux’s own kit instructions call for a 10-to-30-minute penetrant dwell, and Grassroots Motorsports recommends watching the developer for up to 20 minutes after you apply it. Cleaning and drying the part beforehand usually takes longer than the test itself.
A crack shows up as a continuous red line bleeding through the white developer, and Grassroots Motorsports notes a very tight crack can also read as a series of small inline dots. Porosity shows up as a scattering of random red dots. Don’t scrap a part over random dots — but treat a straight line of dots as a crack until proven otherwise.
No. Visible-dye kits work under normal shop light and read the same red-line-on-white result. Fluorescent (UV) kits are more sensitive to very fine cracks but require a black light to read, which is why most home garages start with the visible-dye version.
Only for parts you’d otherwise weld or straighten and reuse — tabs, gussets, and brackets. For spindles, hubs, and axles that took a real hit, crack checking is a good second opinion, but a confirmed crack on any of those load-bearing parts means replace, not repair.
You can absolutely run every one of these tests off a shelf of aerosol cans and a shop light — plenty of racers do, and it works. The kit isn’t the hard part. Remembering which parts you already crack-checked this season, and turning a red line you found on a Tuesday into a part that’s actually ordered by Friday, is where it gets lost. That’s what RacePrep handles:
Get your car’s inspection history into RacePrep before your next off-season teardown — demo mode is free. Then pair this with the weekly race car maintenance checklist for what to check every week, race car torque specs for the fasteners holding those tabs and gussets on, our off-season prep plan for when the car’s already stripped down enough to crack check everything, and the post-crash damage check for the night a hit tells you exactly where to start looking.
Ran into a term in here you’d have to ask somebody about? Every one of them is defined in the RaceYear racing glossary.
Setup notes, maintenance logs, race-day plans, and tax tracking — all in your pocket.
Get the apps