Last reviewed: August 3, 2026 · By the RaceYear team
Short answer: There’s no single number — how long race car parts last depends on the part, the class, the track, and how hard you run. But real service windows exist: dirt late model engines often go 600+ miles between rebuilds, valve springs get changed far sooner, shocks want service every 20–25 races, and rod bolts get retired the moment they stretch. Confirm every number against your manufacturer’s spec and your rulebook.
Key takeaways
Safety and service note: Use the current rulebook and the exact component, chassis, engine, fastener, hub, lubricant and safety-equipment manufacturer instructions. Generic intervals, torque values and inspection results cannot establish continued eligibility, remaining life, correct preload or fitness for service. Replace or escalate any safety-critical part after an impact, heat event, deformation, contamination or abnormal measurement, whatever the calendar says.
Here’s the mindset that keeps you off the hook in the pits: every part on your car is counting laps. The engine, the springs, the shocks, the bearings, the belts, the tires — all of it wears the second you fire the motor. Nothing waits for the calendar. A part doesn’t care that you rebuilt it “last spring.” It cares how many hard laps it’s turned since.
So the real question isn’t “how long do race car parts last” in months. It’s how much use each part has on it, and how that compares to the window where it gets dangerous. This guide walks the car component by component with general service windows, what drives the wear, and how to spot a worn part before it grenades. One loud caveat up front, repeated all the way down: these are general ranges. Your exact numbers come from the part maker and your rulebook, not from a blog.
Most home-built programs track maintenance by the calendar (“every spring”), by memory (“I think that’s a fresh set”), or by disaster (“well, it broke”). All three fail for the same reason — they’re disconnected from actual use.
Two cars can run the same part for the same number of weeks and be in totally different shape. One raced twice a month on a smooth quarter-mile. The other ran a heavy Saturday show plus midweek practice on a rough bullring. Same calendar, double the wear. Usage-based tracking fixes this: you count the thing that actually causes wear — laps, runs, races, hours — and service a part when its usage hits the window, not when the month flips. That’s why the pros talk in miles and race counts, not dates. Let’s go part by part.
For a full-tilt build, the numbers are humbling. Engine Builder magazine notes that a dirt late model engine will typically run 600+ miles before a rebuild — a race motor making 900+ horsepower and spinning past 9,000 rpm. Those same engines get their valve springs changed at the 300-mile mark — half the rebuild interval — because springs fail early (more below).
Your engine is the loudest example of “everything counts laps.” Engine builders quantify life in miles or hours of hard running, not seasons.
A sealed crate motor is a different animal. Speedway Motors notes a properly broken-in 602 crate can last “an entire season” on just oil changes and light service before it goes to a registered facility for a reseal. That’s the whole appeal of a crate class — longer intervals, less internal fussing.
What drives the wear: rpm, load, heat, and how clean you keep the oil. Don’t ask “how old is my engine.” Ask “how many hard miles are on it since the last freshen,” and hold that against your builder’s interval. Confirm the number with the shop that built your motor — a 604 crate, a built 602, and an open dirt late model all live by different clocks.
Valve springs are the fastest-wearing serious part in your engine, which is why builders swap them at half the engine’s rebuild interval. They cycle open and shut roughly 75 times a second at 9,000 rpm and slowly lose load the whole time.
You don’t guess with springs — you measure. The only real way to check one is on a valve spring tester that reads seat and open pressure. OnAllCylinders says spring loads should be recorded after break-in and then checked periodically; in Pro Stock, springs get checked after every pass. You replace a spring when it’s lost meaningful pressure, sits out of square, or shows damage.
Engine Builder lists the visual red flags: springs that are out-of-square, nicked, scratched, corroded, or coil-binding (look for shiny witness marks between coils). Any of those, it’s done.
What drives the wear: rpm, spring pressure, and heat. The stiffer and faster you run them, the sooner they fade. Your spring maker publishes a recommended check-and-replace interval for your specific spring — use it. Grassroots numbers vary wildly between a flat-tappet street stock and a big-spring modified.
Rod bolts are the cheapest insurance in the whole engine and the one you should be most religious about. A failed rod bolt doesn’t just cost the bolt — it puts a rod through the block.
The rule here isn’t a mileage number, it’s a measurement. Street Muscle’s guidance is to measure each bolt’s free length before assembly and again at service — and if a bolt has stretched .001 inch or more, replace it. Permanent stretch means the bolt has yielded and lost clamping load. It goes in the trash.
This is why fasteners get tracked by torque cycles and stretch, not by the calendar. A bolt that’s been torqued and run hard many times is closer to the end than a fresh one, even if both look identical.
What drives the wear: rpm (which drives cylinder pressure and inertia loads), number of heat/torque cycles, and reuse. Follow ARP’s stretch spec for your exact bolt — the .001-inch figure is a common threshold, but always use the fastener maker’s number and your rod manufacturer’s load spec.
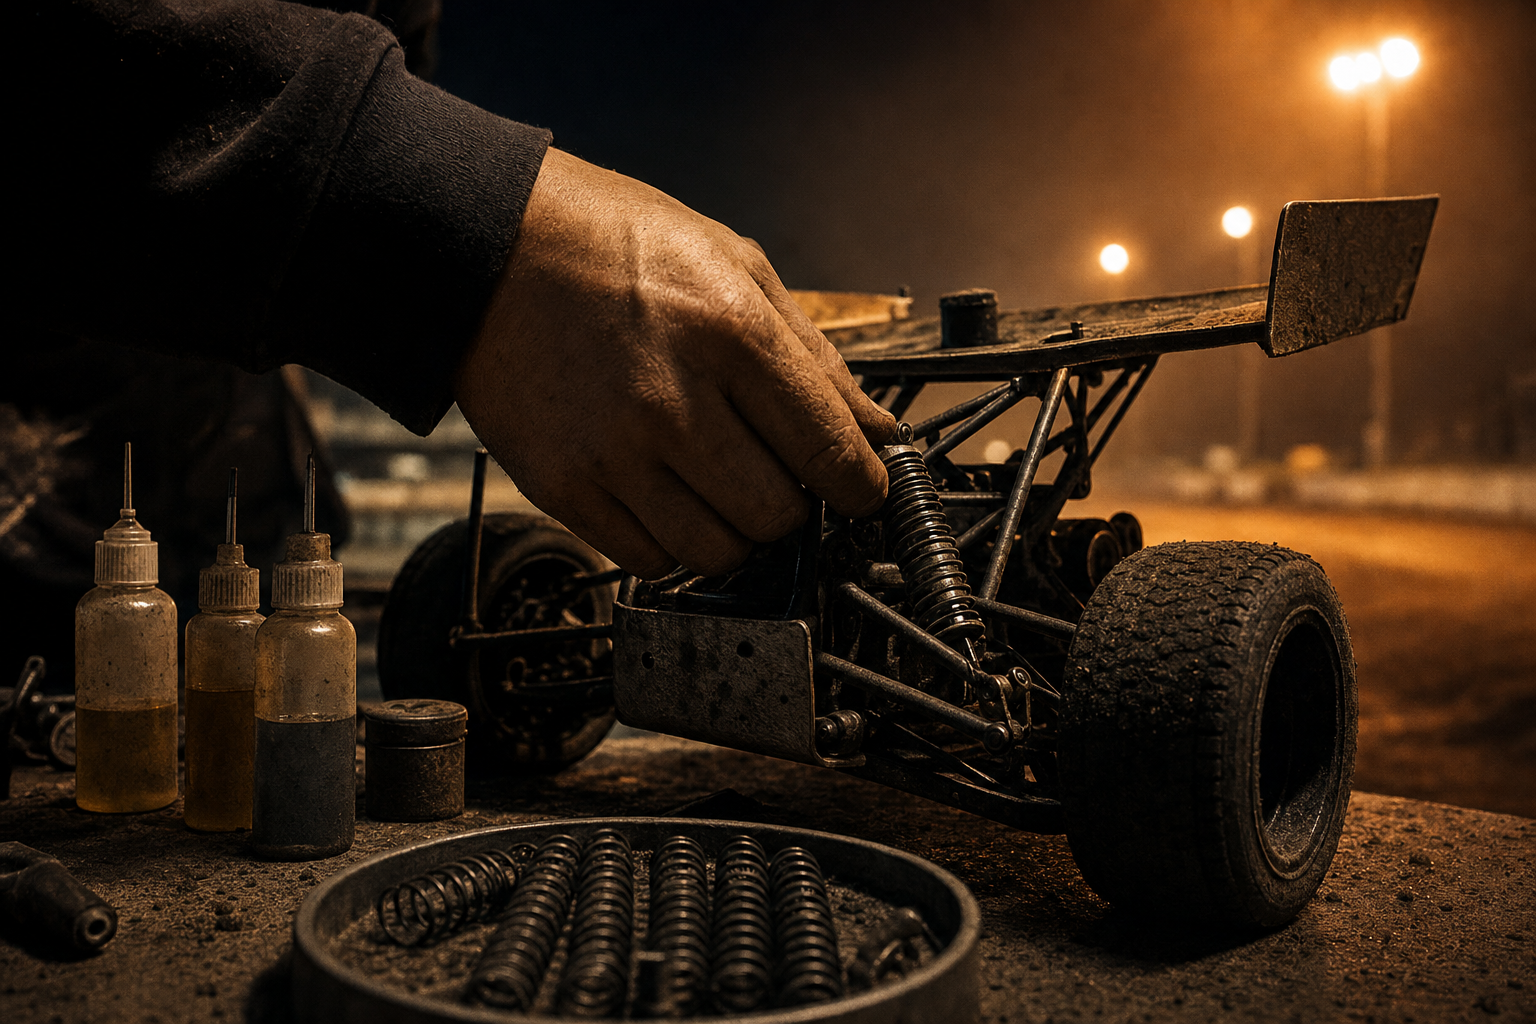
Speedway Motors gives the clearest working number out there: service your shocks every 20–25 races. Their reasoning is exactly the engine analogy — “the oil in a shock heats up to high temps and breaks down, and after so long you have to change the oil.” They also give a concrete example of fade: a shock that read 75 pounds at 3 inches when fresh might drop to 60 pounds after 25 races. Race 60–70 times a year? Service more often. Run 20 nights? You might make a season.
Shocks wear like a small engine, because they basically are one — oil, seals, and a shaft moving under heat. The fluid breaks down, the seals wear, and the damping quietly softens until the car doesn’t do what your setup sheet says it should.
A proper rebuild, per Penske Racing Shocks, means a dyno run before teardown to confirm functionality, a deep clean, and new shims, seals, and oil. That dyno pull is what tells you how the shock was actually behaving before it came apart.
How to know when replacing racing shocks or servicing them is overdue: a bent shaft, dents in the body, a weeping seal, dead spots in the stroke, or a left-to-right pair that no longer matches on the dyno. 20–25 races is a starting point — dirt, rough tracks, and hot nights shorten it. Ask your shock builder for their interval.
Hub and birdcage bearings don’t publish a neat mileage number for grassroots cars, so you manage them by condition and a regular repack. The failure mode is heat and contamination: dirt and water wash out the grease, the bearing runs dry, gets hot, and eventually seizes — usually right as you’re loading into a corner.
Pull, clean, inspect, and repack on a set schedule tied to how much you run, and replace on feel. A good bearing spins smooth and silent. A bad one feels notchy or gritty by hand, shows blue/brown heat color, or has pitting on the races. Any of those, replace it. Dirt cars living in mud eat bearings faster than asphalt cars.
What drives the wear: dirt, water, heat, and side load. No universal interval here — set one for your track conditions and inspect every time the wheels come off.
Belts (serpentine, and timing/gilmer where allowed) age with heat, run time, and rpm. Inspect for cracking, glazing, fraying, and missing teeth, and replace on condition well before they let go — a thrown belt kills the water pump and your night.
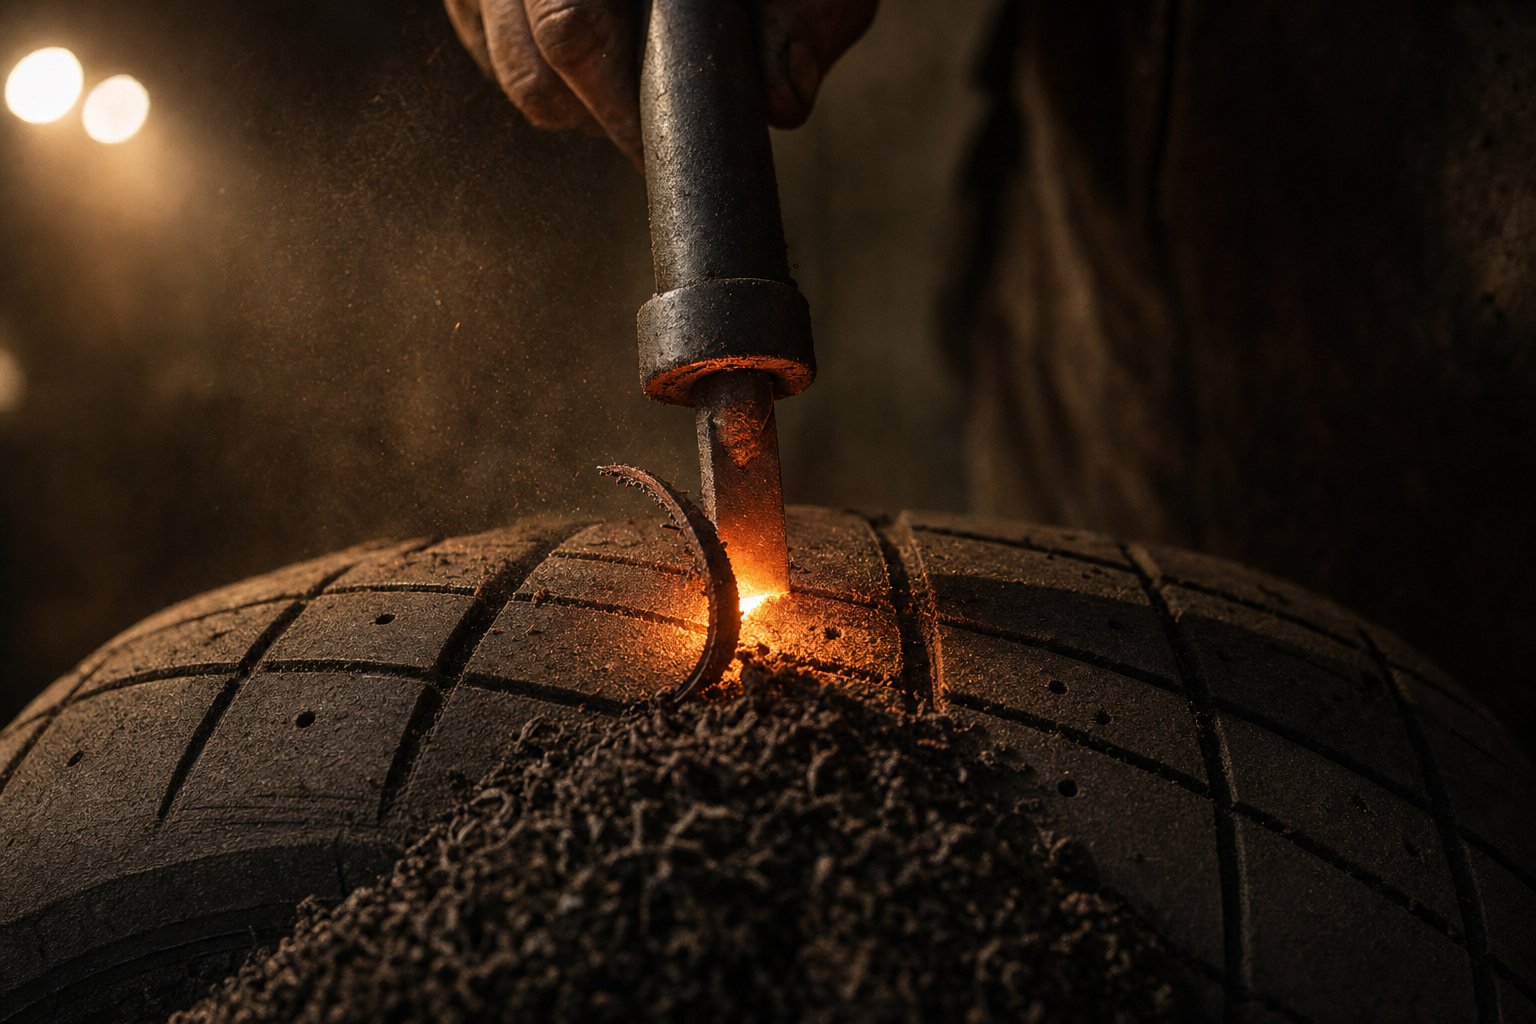
Tires are the most usage-sensitive part on the car, measured in heat cycles plus wear, not weeks. Every time a tire comes up to temp and cools, it hardens slightly and gives up a little grip. Tire Rack notes that after a new tire’s initial heat cycle it needs a minimum 24 hours to relax and re-link its rubber bonds before it’s run again. A tire is “done” when its grip falls off or it’s worn out — and Grassroots Motorsports’ example of a heat-cycled street/track set going 19 autocross events and about 4,000 miles on 2/32 of wear shows how much that varies by compound and use. Track tires by heat cycles and laps, not purchase date.
These are general ranges, not gospel. Every number below varies by class, compound, track surface, temperature, and how hard you drive. Confirm your exact numbers with the part’s manufacturer and your series rulebook before you rely on any of them. Sealed-engine and spec-class rules in particular can override everything here.
| Component | Typical service window (general) | What drives the wear | How you know it’s worn |
|---|---|---|---|
| Built race engine (e.g., dirt late model) | Rebuild ~600+ miles of hard running | rpm, load, heat, oil condition | Power loss, low compression/leakdown, oil in coolant, noise |
| Sealed crate engine (e.g., 602) | Often a full season on light service | rpm, hours, oil | Leakdown drop, hard starting, power loss |
| Valve springs | Changed early — e.g., ~300 miles on a hard build; check periodically | rpm, spring pressure, heat | Lost seat/open pressure, out-of-square, coil-bind marks |
| Rod bolts | Retire on measurement, not miles | rpm, torque/heat cycles, reuse | Permanent stretch of ~.001”+ from free length |
| Shocks | Service ~every 20–25 races | oil heat breakdown, seal wear | Fade vs. baseline, leaks, bent shaft, dead spots, mismatch |
| Hub/birdcage bearings | Repack on a set schedule; replace on condition | dirt, water, heat, side load | Notchy/gritty feel, noise, heat color, pitting |
| Belts | Inspect often; replace on condition | heat, run time, rpm | Cracking, glazing, fraying, missing teeth |
| Tires | Measured in heat cycles + wear | heat cycles, laps, compound, surface | Grip falls off, wear/cording, hardened compound |
Look back at that table. Almost none of it is a date. It’s miles, races, heat cycles, torque cycles, and condition. Race parts live and die by use, so the only tracking that works is tied to use.
Memory doesn’t cut it. You won’t remember, in August, how many nights are on the shocks you serviced in April — not after a couple of rainouts, a spare-set swap, and a mid-season freshen. And a spare part carries its own history: the “backup” shock in your trailer might have 15 races on it from two seasons ago. Bolt it on blind and you’re running a part closer to service than the one you pulled off.
The fix is simple discipline: log your laps or races each night, tie every wearing part to that count, and service against the manufacturer’s window. Paper, spreadsheet, or your head — but do it by usage, because the calendar and your memory are both lying to you.
There’s no single average — it’s per part and per class. Built race engines may go 600+ miles between rebuilds, valve springs get changed far sooner, shocks want service every 20–25 races, and rod bolts get retired on stretch, not time. Confirm your specific numbers with the part maker and your rulebook.
It depends on the build. A hard dirt late model engine may need a rebuild around 600+ miles, while a sealed 602 crate can run a full season on light service. Track it in hard miles or hours since the last freshen, and use your engine builder’s interval.
A common starting point is every 20–25 races, because the oil breaks down and damping fades. Service sooner for leaks, a bent shaft, dead spots, or a left-right pair that no longer matches on the dyno. Racers running 60–70 nights a year will cross that window two or three times a season.
Less than the engine around them. On a hard build, springs may be changed near the 300-mile mark, and top classes check them constantly. Test seat and open pressure regularly; replace any spring that’s lost pressure, sits out of square, or shows damage. Follow your spring maker’s interval.
On measurement, not mileage. Record each bolt’s free length; if it’s permanently stretched (often around .001 inch or more) at service, replace it — it has yielded. Use your fastener maker’s exact stretch spec and your rod maker’s load spec.
You can absolutely track all of this by hand — a binder, a spreadsheet, and the discipline to log every night. Plenty of racers do. But the hard part isn’t knowing the intervals; it’s keeping every part’s usage current across a whole car, a spare box, and a season full of rainouts and swaps. That’s exactly the bookkeeping RacePrep does for you:
Log your laps once, and RacePrep updates the life on every component for you. Start with RacePrep.
Want to go deeper? Read why rod bolts and valve springs fail first, build a real preventive maintenance routine for your race car, and run through our weekly race car maintenance checklist. Winter is when you actually replace what the log flagged — off-season race car prep. An interval is only useful if you’re counting the right thing — race car maintenance tracking software covers why a mileage reminder never fires on a car with no odometer. Oil is the one part life you can measure directly instead of guessing at — race engine oil analysis.
Run into a term you don’t know here? Valve spring pressure, rod bolt stretch and the rest are defined in the RaceYear racing glossary.
Setup notes, maintenance logs, race-day plans, and tax tracking — all in your pocket.
Get the apps