Last reviewed: August 3, 2026 · By the RaceYear team
Short answer: A good RC car setup comes down to a handful of adjustments — camber, caster, toe, ride height, springs, shock oil, gearing, and diff. Each one changes how the car turns, grips, and puts power down. Any useful RC car setup guide teaches the same method: start from the kit setup sheet, change one thing at a time, run it, and rate how it drove. That’s the whole game.
Key takeaways
RC model and rule note: Settings, voltages, temperatures, fluids, gearing, tire treatments and service intervals are specific to the model, firmware, battery, motor, tire, class and venue. Use the manufacturer’s own instructions and the current event rules; menu percentages and setup directions are not necessarily comparable between brands.
This RC car setup guide strips it down to the settings that actually move the needle — what each one does in plain English, and a simple method for tuning that beats standing at the pit table guessing. If you’re new to RC racing, the setup talk at the track can sound like a foreign language. Guys throw around camber, rollout, and shock oil weights like everybody was born knowing them. You weren’t, and that’s fine.
You don’t need to understand all of it at once. You need to know what each adjustment does, where to start, and how to test a change without fooling yourself. Do that and you’re already ahead of half the field.
Setup is how you make the car do what you want: turn in when you ask, hook up off the corner, stay planted over the bumps. It’s tempting to blame your driving for a car that pushes wide or spins out. Sometimes it is you. But a lot of the time the car is fighting you, and no amount of thumb skill fixes a car that’s set up wrong for the surface.
The factory kit setup is a safe, neutral starting point — but your track, your tires, and your grip level aren’t the same as the one the engineers built it for. Learning to nudge a few settings is the difference between driving around a problem all day and actually fixing it. And most of what matters here is free to change — turnbuckles, shock collars, gears you already own. It’s knowledge, not money.
Before you touch anything, know what the levers do. Here’s the liftable version — the settings that matter most, and the one-line job each one has. Effects are described by established setup guides like EuroRC, the Team Associated RC Handbook, and RCexplained.
| Setting | What it does | Typical direction |
|---|---|---|
| Camber | The lean of the tire viewed from the front. Negative camber keeps the outside tire flat during a corner, which adds cornering grip. Too much hurts straight-line traction and wears tires. | Around -1 to -2° front to start |
| Caster | The angle of the steering pivot viewed from the side. More caster gives less initial turn-in but more on-power steering and better straight-line stability. | More caster = more stability |
| Toe | Which way the tires point viewed from above. Front toe-out sharpens steering; toe-in adds stability but slows turn-in. Rear almost always runs toe-in for drive and stability. | Small front toe, rear toe-in |
| Ride height | How far the chassis sits off the ground. Lower plants the car on grip; higher clears rough ground. Tune this first — everything else builds on it. | Close to level, rear slightly higher |
| Springs | How much the suspension resists compression. Stiffer sharpens response and controls roll; softer adds mechanical grip on loose or bumpy tracks. | Match to grip level |
| Shock oil | The fluid that controls how fast the suspension moves. Thicker oil slows it down (smooth, high-grip tracks); thinner lets it move faster (rough, bumpy tracks). | Thicker = smoother/slower |
| Gearing (rollout) | The pinion/spur combo that trades punch for top speed. More pinion or less spur = more top speed and more heat; the opposite = more acceleration. | Watch motor temps |
| Diff | How power splits between the wheels. A tighter (thicker) diff drives harder off the corner; a freer one lets the car rotate. Start from the kit fluid. | Kit baseline first |
Read that table twice and you already understand more than most bashers at the track. Now let’s put it to work.
Set ride height first. As Naughty Boy RC puts it, always tune your ride height first before messing with other suspension settings (Naughty Boy RC), because it controls how the car transfers weight during acceleration, braking, and cornering (EuroRC). Too high and the car feels floaty and unstable; too low and you bottom out on every bump (EuroRC). Get it level and sensible, then leave it.
Camber is your cornering-grip dial. A little negative camber keeps the tire flat when the car leans in a corner, so you get more rubber on the ground where it counts — Naughty Boy RC suggests a -1 to -2° starting point for front camber (Naughty Boy RC). Go too far negative and you lose straight-line traction and wear your tires out faster (EuroRC).
Caster changes the feel of your steering. More caster calms the car down and adds straight-line stability and on-power steering, at the cost of some initial turn-in (Team Associated).
Toe is which direction the tires point. Front toe-out makes the car steer harder into a corner but can make it wander; toe-in does the reverse. At the rear you almost always run toe-in — it adds grip and high-speed stability (RCexplained) — and you never run rear toe-out, which creates snap oversteer (EuroRC). More toe also scrubs a little speed, so don’t overdo it.
Springs and oil work together. Stiffer springs reduce body roll and sharpen response but cut mechanical grip; softer springs soak up bumps and find traction on loose surfaces. Shock oil controls the speed of that movement — thicker oil slows the suspension down and suits smooth, high-grip tracks, while thinner oil lets it move faster on rough or bumpy tracks (EuroRC). Match the two: a heavy oil wants a heavier spring, because a light spring can’t extend the shock quickly enough before it hits the next bump (RCexplained).
Gearing is the trade between punch and top speed. Divide spur teeth by pinion teeth (times the internal ratio) for your final drive. More pinion or less spur gives more top speed but slower acceleration and more motor strain; fewer pinion teeth give quicker punch, cooler running, and longer run time (Radio Control Tips). Heat is the limit — gear for too much top speed and you can cook the motor, so check temps after a run.
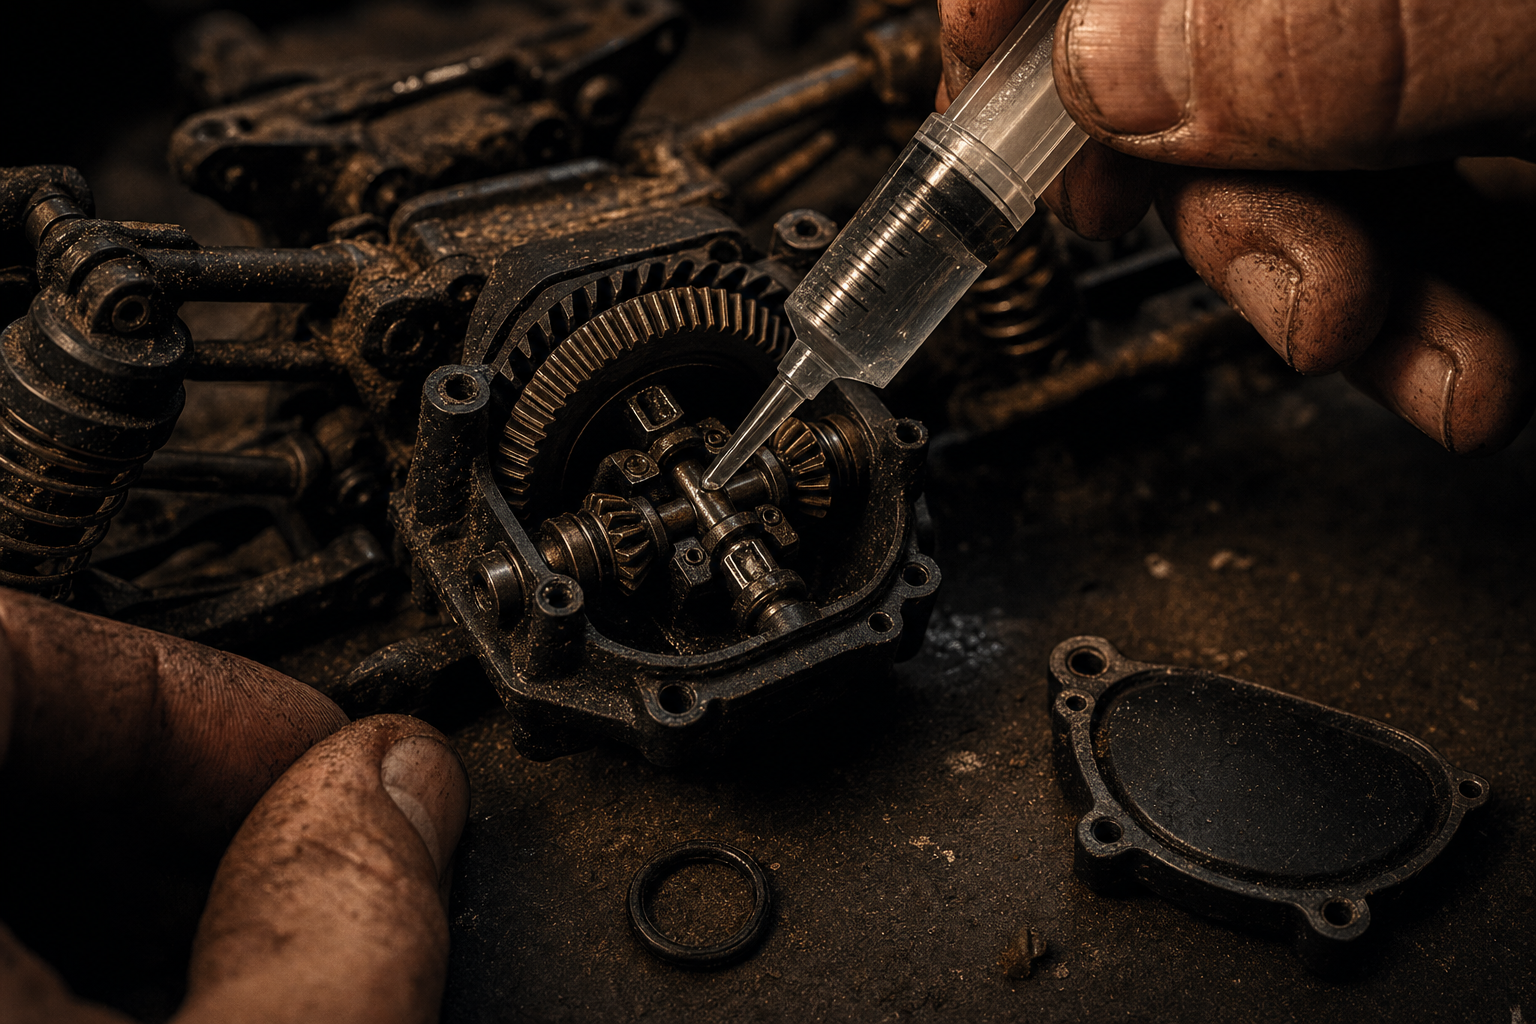
The diff controls how power splits between wheels: a tighter diff helps the car put power down coming out of corners, while a looser diff helps it turn corners better (Team Associated). Start from the kit diff fluid — it’s a big change and easy to get wrong, so dial it only once the basics feel right.
The single best habit for a beginner: start every session from the kit or manufacturer setup sheet. Every real RC kit ships with a baseline — the camber, toe, ride height, springs, and oil the manufacturer landed on after real testing. It’s a known-good starting point, not a compromise.
Building from that baseline means every change is a change from something you can get back to. Chase settings from a blank slate and you’ll eventually get lost with no way home. Start from the sheet and you can always reset and try again.
The rule every good tuner follows: test one variable at a time (RC Visions). This is the part that turns pit-table guessing into an actual setup process. Change two things and a lap gets faster, you have no idea which one did it. Here’s the loop:
Slow? A little. But it’s how you build a car that actually works instead of a random pile of adjustments you can’t explain. Two or three focused changes a session and you’ll out-tune people who’ve been at it for years.
The night everything clicks — the car turns, hooks up, and you finally win a main — is worthless if you can’t do it again. Memory won’t save it. Write it down.
A setup log doesn’t have to be fancy. For each run, note the track and surface, the key settings, what you changed, and how it drove. Then next time you show up to a similar track, you’re not starting from the kit sheet — you’re starting from the setup that already worked. That searchable history is the real edge, and it’s the thing most beginners skip.
This guide is the map. When you’re ready to dig into one area, the sibling posts go setting by setting:
Set ride height first — it changes how the car transfers weight through every corner, so everything else builds on it. After that, work camber and toe for cornering grip and steering feel, then springs and shock oil for how the car reacts. Save gearing and diff for once the handling basics feel right.
Around -1 to -2 degrees of negative front camber is a common starting point. Negative camber keeps the outside tire flat during a corner, which adds grip where you need it. Too much negative camber hurts straight-line traction and wears your tires out faster, so start mild and adjust from there.
Not automatically — it depends on the track. Thicker oil slows the suspension down and suits smooth, high-grip surfaces; thinner oil lets the suspension move faster and works better on rough or bumpy tracks. Match your oil to your springs and your surface, change it one step at a time, and rate how the car responds.
Heat is the giveaway. Gearing for more top speed puts more strain on the motor, and if the motor or ESC runs hot after a run, you’ve gone too far. Drop a tooth or two on the pinion for more acceleration, cooler running, and longer run time, then re-check temps.
Yes — it’s the highest-value habit in RC. Starting from the kit baseline means every change is a change from a known-good point you can always get back to. Logging what you ran and how it drove means you can repeat a good setup instead of rediscovering it. Paper or app, the habit matters more than the tool.
You can absolutely do all of this by hand — kit sheet in a binder, a notebook for changes, and your memory for what worked where. Plenty of racers do. But paper doesn’t search, gearing math is easy to fumble at the track, and “how did that run feel?” turns into a guess by the next weekend. That’s the gap RacerRX fills:
Save and rate every setup in RacerRX, then ask the AI crew chief what to change. Start with RacerRX free.
Still fuzzy on any of the terms above? They’re all defined in the RaceYear racing glossary.
Setup notes, maintenance logs, race-day plans, and tax tracking — all in your pocket.
Get the apps